Adding a 240-Volt Circuit for a Heat Pump Water Heater
Thinking about a heat pump water heater? Here’s what to know about adding the 240-volt circuit it needs, from costs and access issues to permits and planning tips.
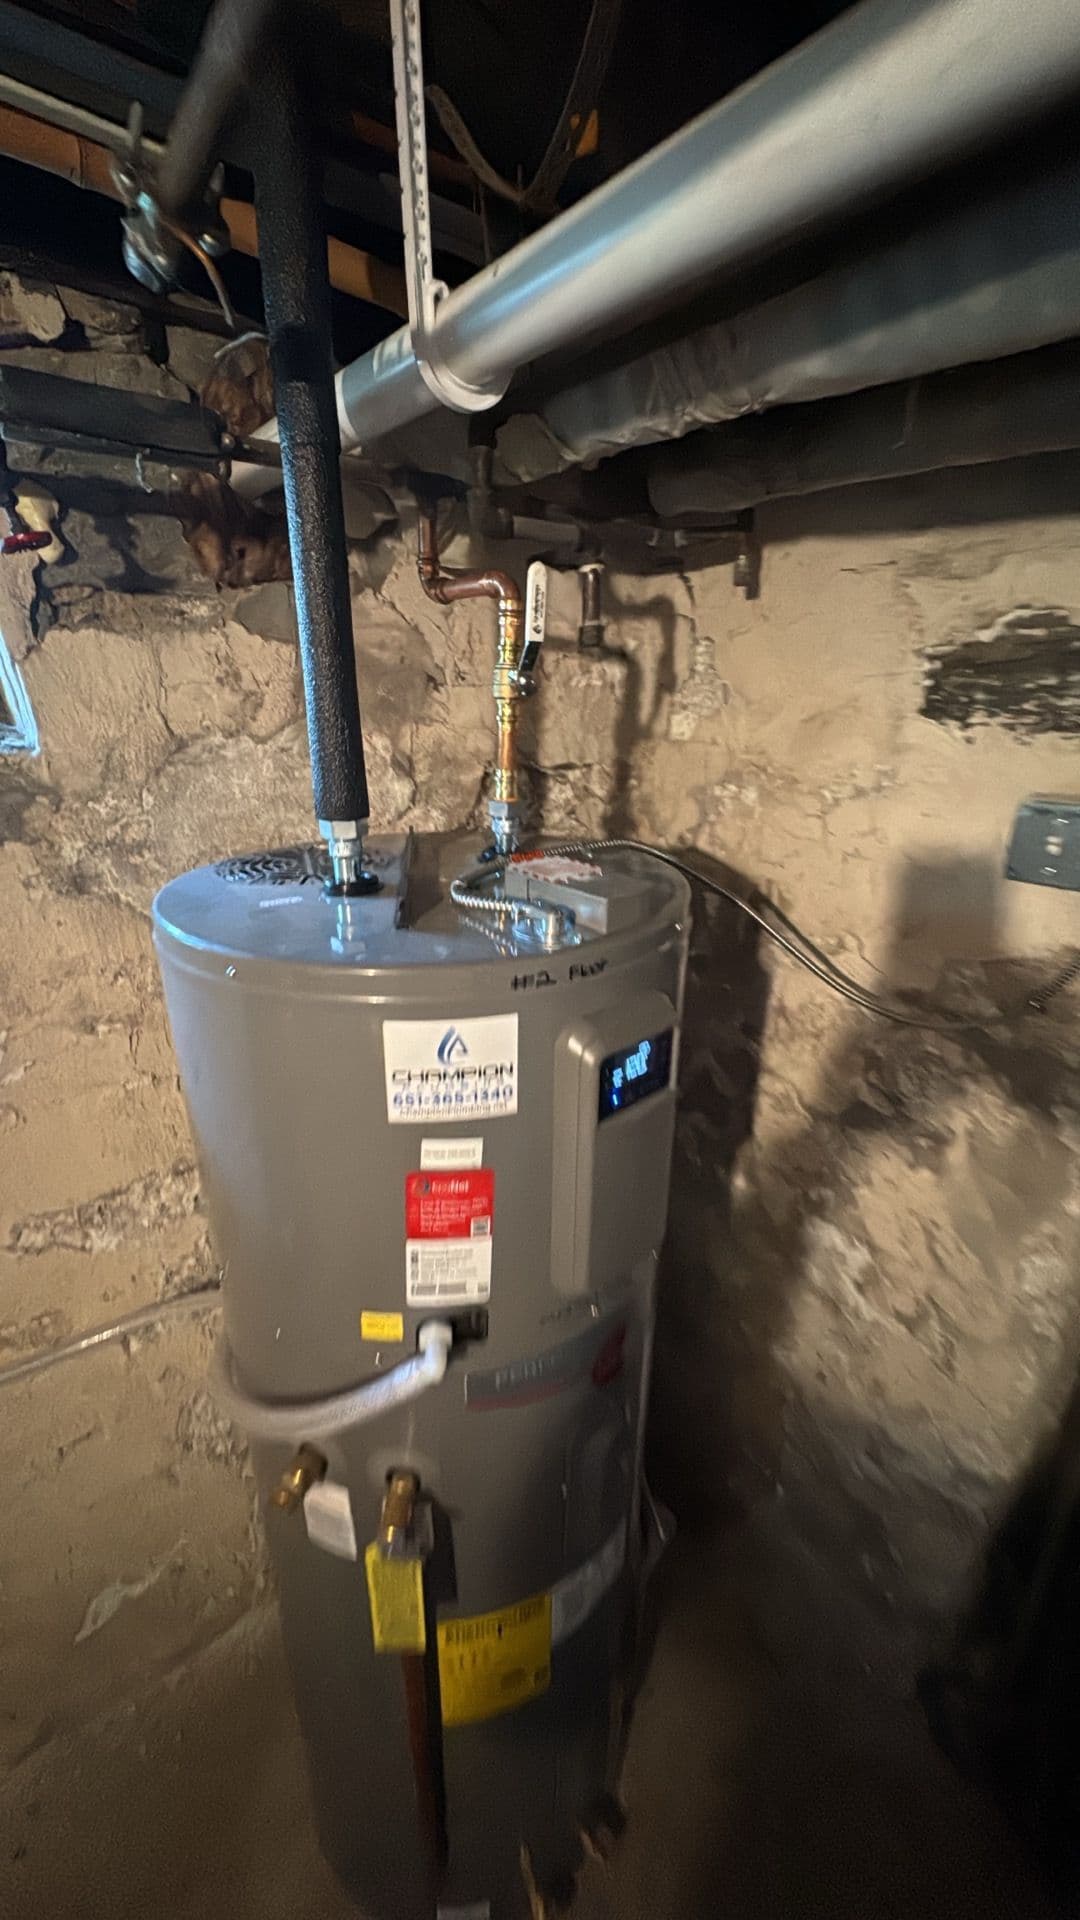
What Homeowners Should Know About Adding a 240-Volt Circuit
We recently got a call from a homeowner — we’ll call him Mark — who was working with a plumbing company to install a new heat pump water heater in his basement. Champion Plumbing was handling the water heater itself, but they told Mark he’d need a new 240-volt circuit run from his electrical panel to the water heater location.
The ceiling near his panel was open, the walls around the water heater were open, and there was just one stretch over finished drywall where the wire would need to be fished through the joist space, likely using existing recessed lights. Mark’s big question: “Can you give me a more specific estimate for running that 240-volt line?”
Using Mark’s project as a starting point, we want to walk through what goes into adding a 240-volt circuit for a heat pump water heater — so you know what to expect in terms of scope, cost, and questions to ask.
Why Heat Pump Water Heaters Need a 240-Volt Circuit
Most traditional gas or standard electric tank water heaters don’t require new wiring if you’re doing a like-for-like replacement. A heat pump water heater is different. It’s essentially a small heat pump plus a storage tank, so it usually needs its own dedicated 240-volt circuit.
The exact breaker and wire size depend on the model and its electrical rating, but in general you’re looking at:
- A dedicated 2-pole breaker in the main panel (often 30–40 amps, but always based on the manufacturer’s specs)
- New cable run from the panel to the water heater location
- A proper disconnect or junction point near the unit, depending on the installation method
From Mark’s description, his panel was newer and had open spaces, which is ideal. When there’s room in the panel and a relatively short run (his was about 25 feet), the project is usually straightforward and the price stays predictable.
How Access Affects Price and Complexity
With Mark, we were told the ceiling was open near the panel, and the walls and ceiling around the water heater were open as well. That kind of access is what keeps a job closer to the lower end of the price range. In his case, we quoted about $700, including permit and handling, and we told him we’d likely stay within 5–10% of that as long as conditions matched the description.
The only tricky area was the “hallway” between the rooms, where the ceiling was finished drywall. Fortunately, there were recessed lights in that section, and other electricians had already used those openings to fish wires along the joists. That’s exactly the sort of detail we listen for on the phone, because it tells us we probably won’t have to cut new holes in the drywall.
In general, the more finished surfaces we have to work around, the more time it takes to fish cable cleanly and safely. Open joists and exposed framing almost always mean a simpler, more cost-effective install.
Planning Tips Before Your Electrician Arrives
There are a few things you can check (or ask your plumber about) before we ever set foot in your home that will help tighten up the estimate:
- Panel location and condition: Is the panel modern with open breaker spaces, or already full? Is it in the same level of the house as the water heater?
- Approximate distance: Even a rough tape-measure estimate from the panel to the water heater helps — 20 feet is very different from 60 feet.
- Access path: Are ceilings or walls open in the basement? Are there mechanical rooms, utility chases, or recessed lights we can use as fishing points?
When we schedule an estimate visit, we encourage homeowners to walk the route with us. Point out any prior electrical work (like Mark did with his recessed lights), areas that are hard to reach, or spots where you’d be okay with a small access hole if absolutely necessary. That conversation helps us give you fewer surprises and a more accurate written quote.
When the Price Might Go Up (Or Down)
For Mark, conditions were favorable, so the quote landed around $700 with permitting included. Here are factors that can raise the price on similar projects:
- Longer runs: If the panel is on the opposite side of the house or a different level, labor and material costs increase.
- Finished ceilings/walls everywhere: No access points may mean cutting and later patching drywall, which takes more time or coordination with a drywall contractor.
- Panel upgrades: If your panel is full, outdated, or under-sized, we may need to upgrade it or add a subpanel before adding a new 240-volt circuit.
On the other hand, your cost might go down if the water heater is very close to the panel, everything is fully exposed, and the electrical rating allows for smaller-gauge wire. If your project is part of a larger electrical job, there can also be some efficiency in doing everything at once.
One practical tip: ask your electrician how they handle any necessary drywall repairs. Sometimes we can run everything through existing openings; other times, we’ll need to make a small access cut. We’re happy to explain where those might be, how big they’ll be, and whether we patch them ourselves or coordinate with your preferred contractor.
Coordinating With Your Plumber and Permits
Mark was already working with a plumbing company, which is very common with heat pump water heater projects. We regularly coordinate with plumbers to make sure:
- The electrical disconnect or junction box ends up in a convenient, code-compliant location
- The circuit sizing matches the model they’re installing
- Our timeline lines up with their installation date so you’re not without hot water longer than necessary
We also handle the electrical permit and inspection as part of the job. That’s built into the kind of number we gave Mark. The inspector will verify that the breaker, wire size, terminations, and grounding all meet current electrical code, which protects you and keeps the manufacturer’s warranty intact.
What You Can Do Next
If you’re considering a heat pump water heater and know you’ll need a 240-volt circuit, take a quick look at your panel, measure the rough distance to the water heater, and note what’s finished vs. open along that path. When you call us, sharing those details — like Mark did — helps us give you a realistic range up front and then a firm quote once we see the layout in person.
And if you’re already working with a plumber, let us know who they are and what model they’re recommending. With a little coordination and planning, adding that 240-volt circuit can be a clean, code-compliant upgrade that sets your new heat pump water heater up for a long, efficient life.