Why Your AC Outdoor Disconnect Can Stop Everything
AC running inside but dead outside? Your outdoor disconnect could be the culprit. Here’s what we check as electricians and when that box needs replacement.
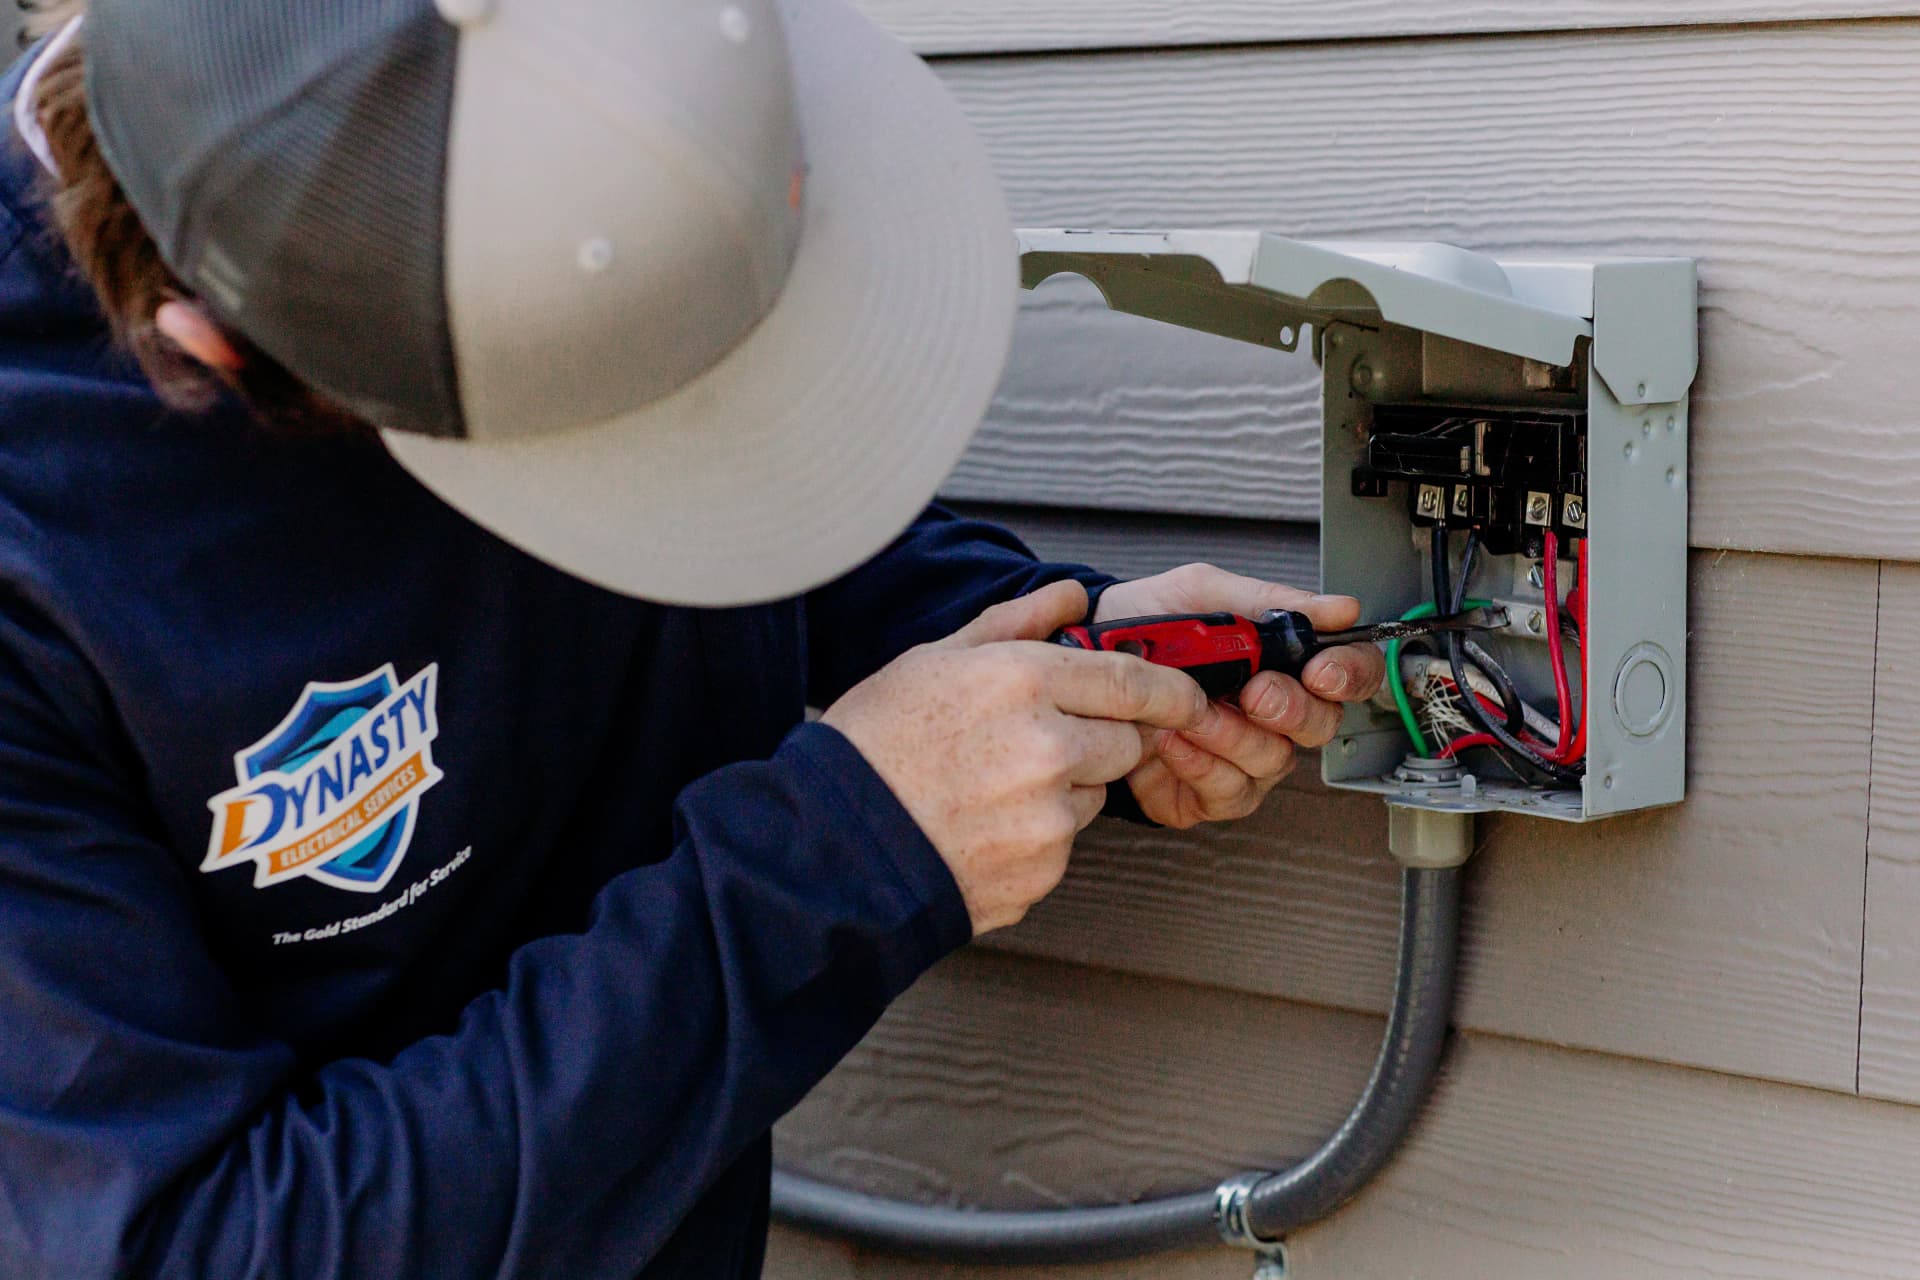
When Your AC Runs Inside But Is Dead Outside
We recently got a call from a homeowner — let’s call him Brian — who was pretty frustrated with his air conditioning. An HVAC tech had already been out, checked the indoor unit and breakers, and told him something that left him scratching his head:
“Your indoor breakers look fine, but there’s no voltage at the outdoor AC unit. You probably have a problem with your outside high-voltage disconnect.”
That’s when Brian called us to ask, “Do you work on those outdoor AC disconnect boxes?” We told him yes, that’s exactly the kind of thing we deal with all the time.
What That Outdoor AC Disconnect Actually Does
Whenever we arrive to a call like Brian’s, we start by explaining what that little gray box by the AC condenser actually is. In our experience, once homeowners understand its job, the rest of the troubleshooting makes a lot more sense.
Your outdoor AC disconnect is a safety switch that sits between your home’s main electrical panel and the outside condensing unit. Its main purposes are to:
- Provide a local shutoff so a tech can safely work on the unit without live power right next to them.
- Protect the system with fuses (on fused models) if there’s a fault or short.
- Give a clear, code-compliant way to cut power within sight of the equipment.
When it fails or is wired incorrectly, your thermostat can call for cooling all day long, but the outdoor unit will never start — exactly what Brian was dealing with.
Why a Bad Disconnect Can Stop Your AC From Running
On most no-power-to-the-condenser calls, we find that the problem is one of a handful of issues. Here are the ones we see most often when we’re called out for an AC that’s dead outside:
- Loose or burned connections: Heat, vibration, and time can loosen the lugs that hold the wires in place, or carbonize the contacts. We often see charred insulation or melted plastic inside older disconnects.
- Failed pull-out or internal switch: On pull-out style disconnects, the removable handle can crack or its contacts can wear out. On knife-switch or breaker-style models, the internal mechanism can seize or burn open.
- Blown fuses (on fused units): If your disconnect uses fuses, a fault in the AC or wiring can blow one or both fuses. From your perspective, the result is simple: the unit won’t turn on.
- Water and corrosion: We routinely open disconnects and find rust, insect nests, or water intrusion that has eaten away at metal parts.
- Improper installation: Sometimes previous work was DIY or rushed. We’ve seen undersized wire, miswired legs, and non-rated boxes used outdoors, any of which can lead to intermittent or total power loss.
For Brian, the HVAC tech had already confirmed there was no voltage at the AC unit itself, so we knew we needed to focus on the disconnect and the wiring feeding it.
What We Check When We Diagnose Your Outdoor Disconnect
When we send one of our electricians out for this kind of diagnostic — like we did for Brian — we follow a consistent process to keep things safe and efficient. Here’s how we typically approach it from our side.
1. Verify Power From the Panel
We start indoors at your main electrical panel. We:
- Identify the breaker that feeds the outdoor AC circuit.
- Test for proper voltage at that breaker with a meter.
- Check for signs of overheating, a weak breaker, or double-tapped conductors.
If there’s no proper voltage at the panel, we know the issue starts there. If voltage looks good, we move down the line toward the disconnect.
2. Inspect and Test the Disconnect Box
Next, we shut power off at the panel and open the outdoor disconnect. This is where we often find the culprit. We look for:
- Physical damage: Cracked housing, broken pull-out, melted plastic, or obvious burning.
- Loose terminations: Wires that were never properly tightened or have worked loose over the years.
- Corrosion and moisture: Rusted lugs, green copper, or water stains inside the enclosure.
With the cover off, we restore power (using proper safety procedures) and test:
- Line-side voltage coming into the disconnect.
- Load-side voltage going out to the AC unit.
- Fuse continuity if it’s a fused model.
If we see good voltage on the line side but nothing leaving on the load side, the disconnect itself is usually bad and needs replacement.
3. Confirm Power to the Condenser
Once we’ve repaired or replaced what’s needed at the disconnect, we confirm that proper voltage is present at the outdoor AC unit’s lugs. That’s our way of making sure we’ve restored the electrical path the HVAC tech was missing when they checked it earlier.
From there, if the AC still doesn’t run, we coordinate with or defer back to the HVAC technician, since anything beyond the disconnect and wiring becomes a mechanical or refrigeration issue inside the unit.
When We Recommend Replacing the Disconnect
Homeowners often ask us if we can “just tighten it up” or “swap a fuse” instead of replacing the whole box. In our experience, we’re comfortable repairing small issues, but there are some clear times when we recommend a full replacement:
- The disconnect is visibly burned, cracked, or melted.
- Contacts are badly corroded or pitted.
- The housing no longer seals properly and lets water or pests in.
- The unit is very old and not up to current code or manufacturer recommendations.
On Brian’s call, for example, we explained up front that if we found a failed disconnect, there would be a labor charge for the diagnostic plus any material cost for the new disconnect. That way he knew exactly what to expect before we did any work.
What You Can Safely Check Before You Call
There are a couple of simple things we often suggest homeowners check before scheduling a diagnostic visit, as long as you feel comfortable:
- Thermostat settings: Make sure it’s set to “Cool” and the temperature is below the current room temperature.
- Indoor breaker: Look for a tripped breaker labeled “AC,” “A/C,” or “Condenser” and reset it once. If it trips again, stop and call us.
- Disconnect handle position: If your outdoor disconnect has a removable pull-out, make sure it’s fully inserted and in the “ON” position. Don’t open the box or touch any exposed wires.
Anything beyond these quick checks — especially opening the disconnect or using a meter — is where we strongly recommend you let us, as licensed electricians, take over. We work with high-voltage equipment every day and know how to do it safely.
Need an Electrician to Check Your AC Disconnect?
If your indoor system seems fine but your outdoor AC unit is completely dead, there’s a good chance your outdoor disconnect or wiring is to blame. When you call us, we treat it just like we did with Brian: we explain the diagnostic process, go step-by-step from your panel to the disconnect to the condenser, and give you clear options and pricing before we replace anything.
That way you’re not just getting your cool air back — you’re also getting a safe, code-compliant electrical setup that should keep your AC running reliably for many summers to come.